Learning how to paint beautiful watercolor trees is one of the fundamentals to creating scenic watercolor landscapes.
Especially if you’re a beginner, these tips will help you paint trees that mesh seamlessly in your work and stylistic decisions down the track.
Disclaimer: Several of the images below are credited to their respected artists. Please contact Paint Pointers if you would like any of the images to be taken down and we will do so immediately.
Watercolor tree for beginners
Although there are several ways you could approach painting a watercolor tree, some of which suit different styles more than others, I believe one of the simplest approaches is by taking advantage of one technique…
Wet-on-wet.
By using a wet-on-wet watercolor technique, you are capable of painting really nice abstract style tree such as the one shown by Jennifer Branch below.
This is a really nice and simple, relatively straight-forward tree style that you can achieve.
These are some of the steps I’d personally take to achieve something like Jennifer Branch’s one above.
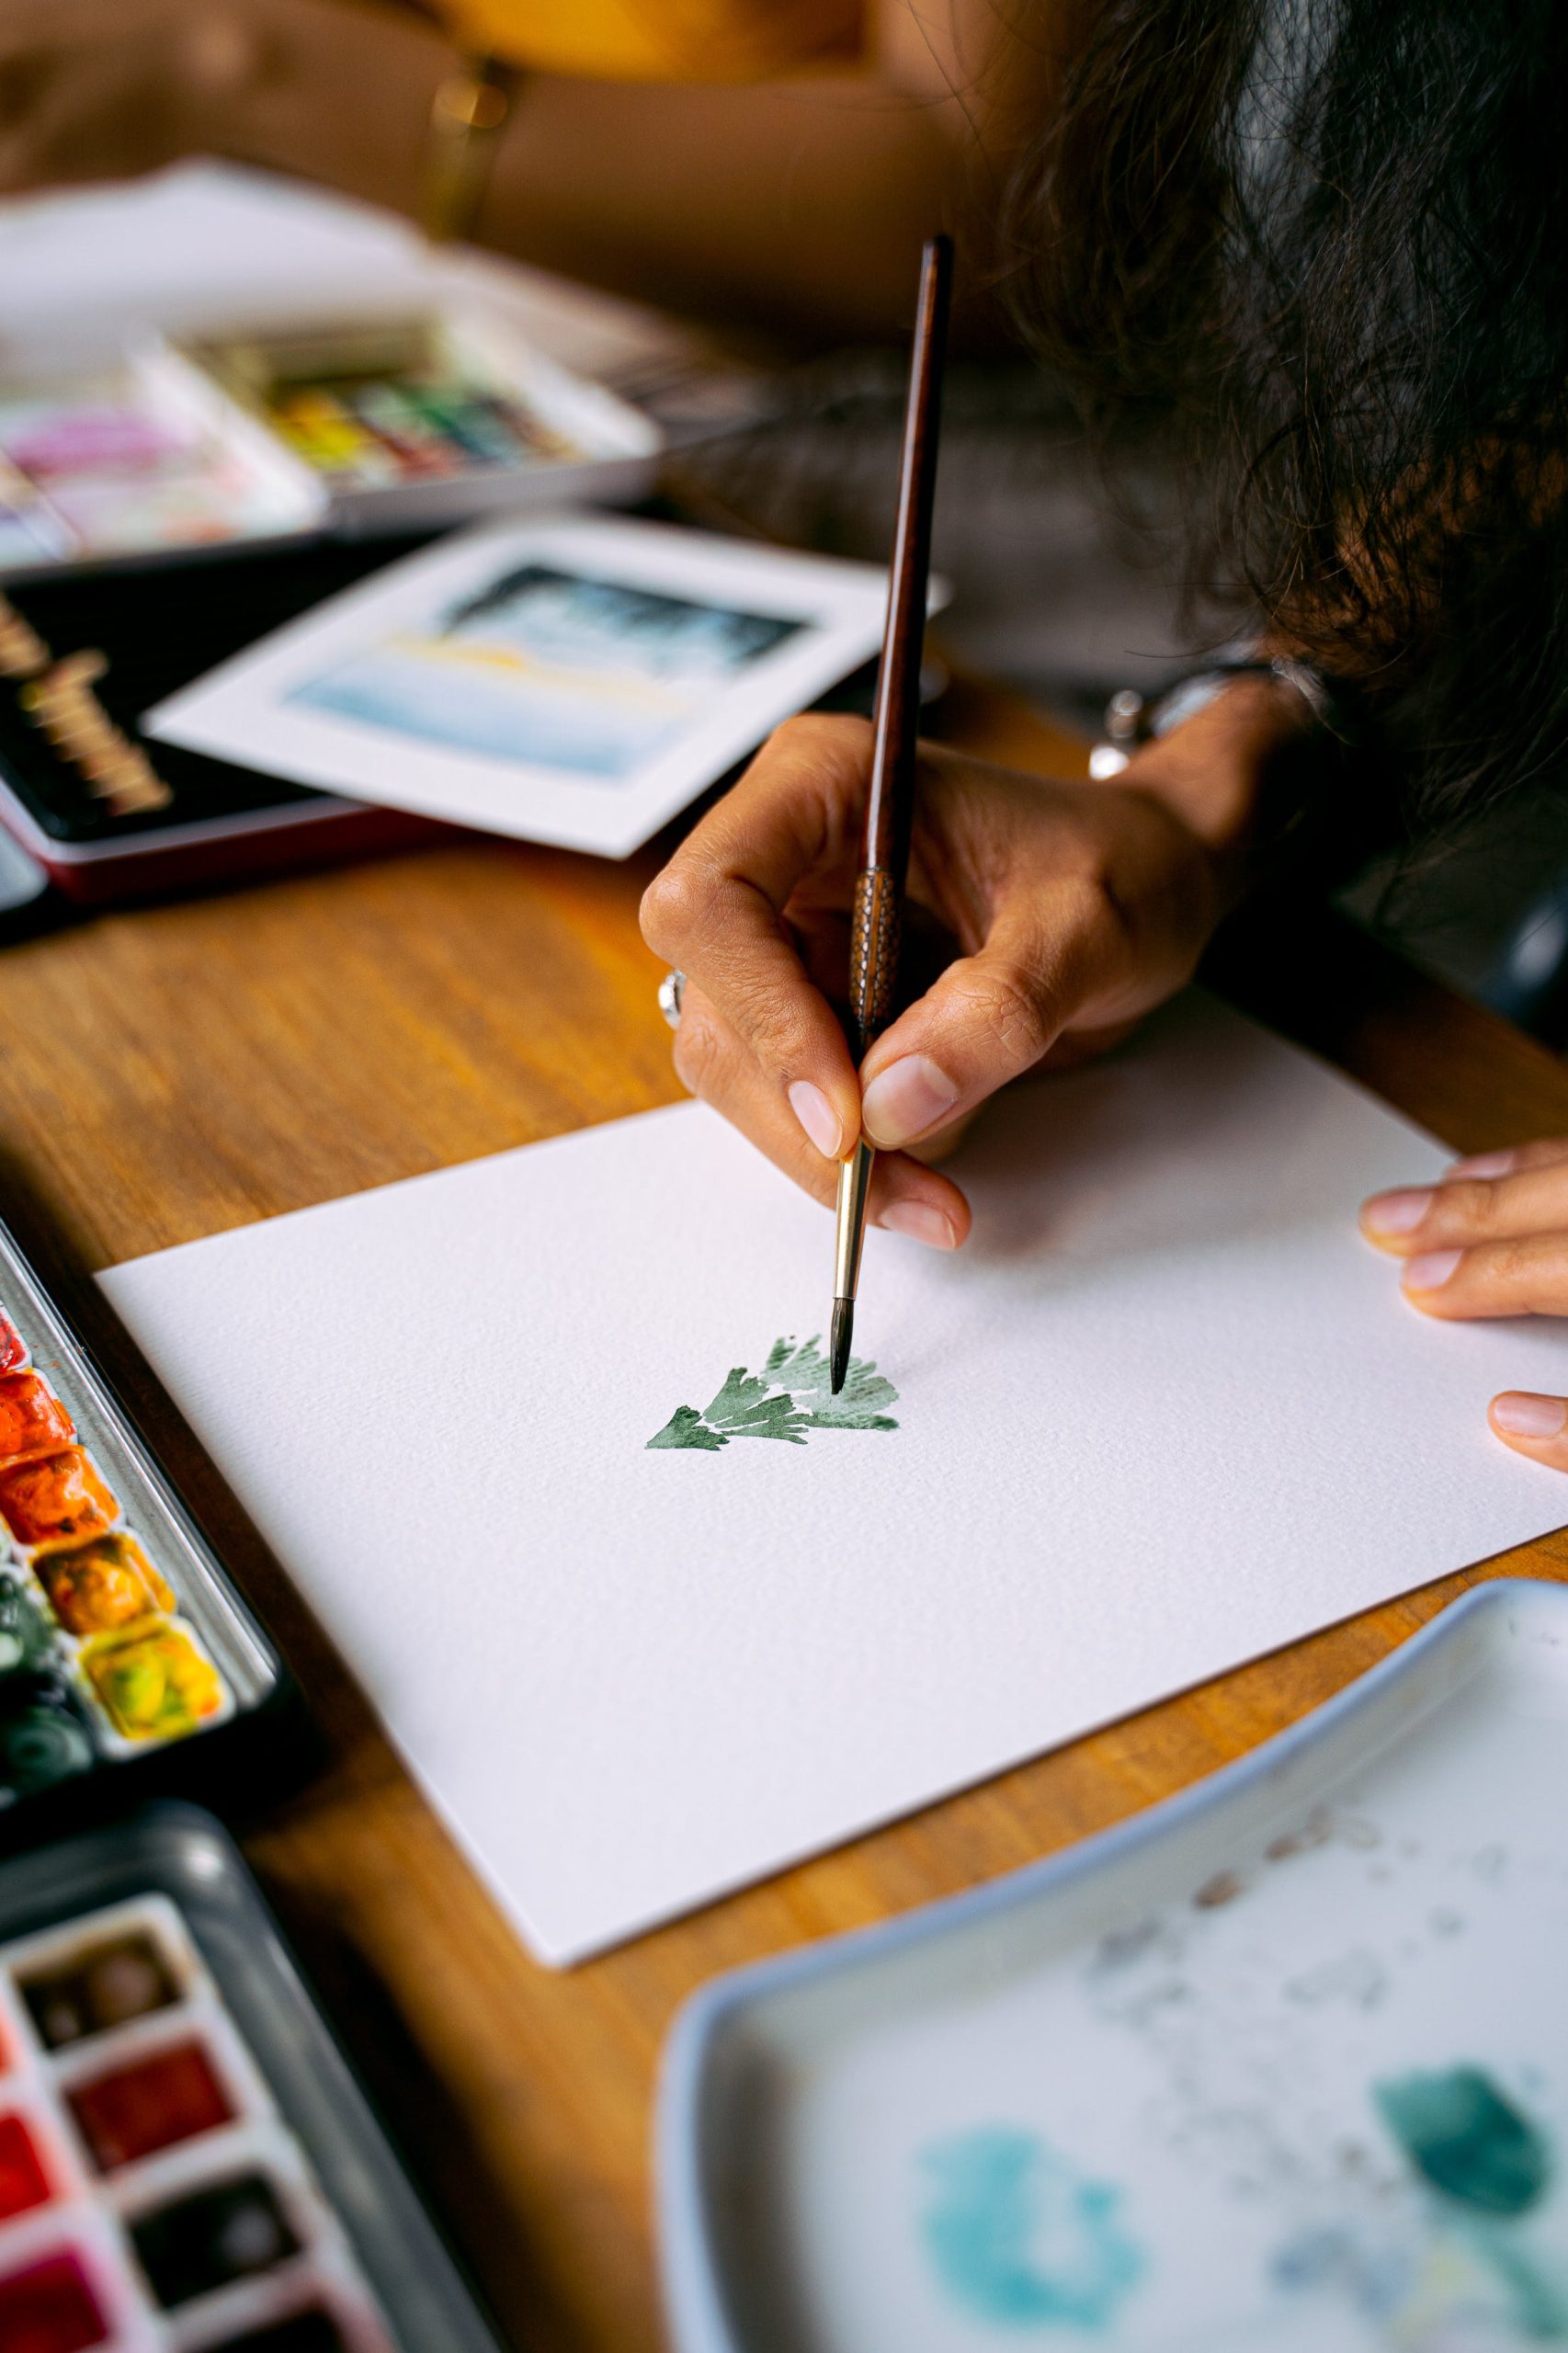
- Start with a (very) rough sketch: the trick here is to not add detail at all and just gauge where certain elements are going to be (i.e. tree trunk, leave placement and the general composition of your tree)
- Paint with basic shapes: set a water saturated layer of pigment (e.g. light green) on the page with the general organic shape of leaves. Make sure to use a relatively large brush or even experiment with a sponge (with excess water squeezed out) to quickly create this without too much detail.
- Adding shadows and highlights: ‘dip’ another paintbrush containing a darker green into the damp area to allow pigment to bloom and spread through. Here you can experiment with different colors (I’d recommend some earthy tones and yellows for highlights).
- Drying: wait until the leaves have dried.
- Tree trunk and details: with a smaller brush and less water, paint the tree trunk and thin branches that emerge out of the tree leaves.
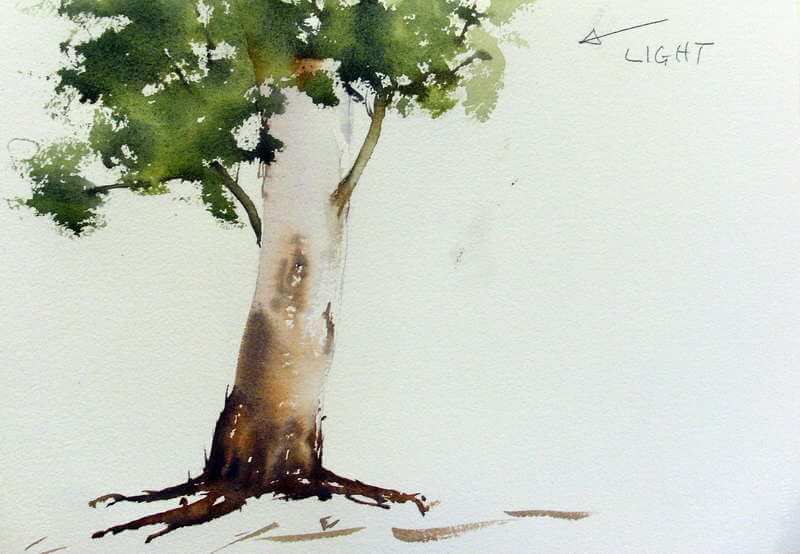
Using this same wet-on-wet technique, you can build upon this style to create something a little more realistic such as this:
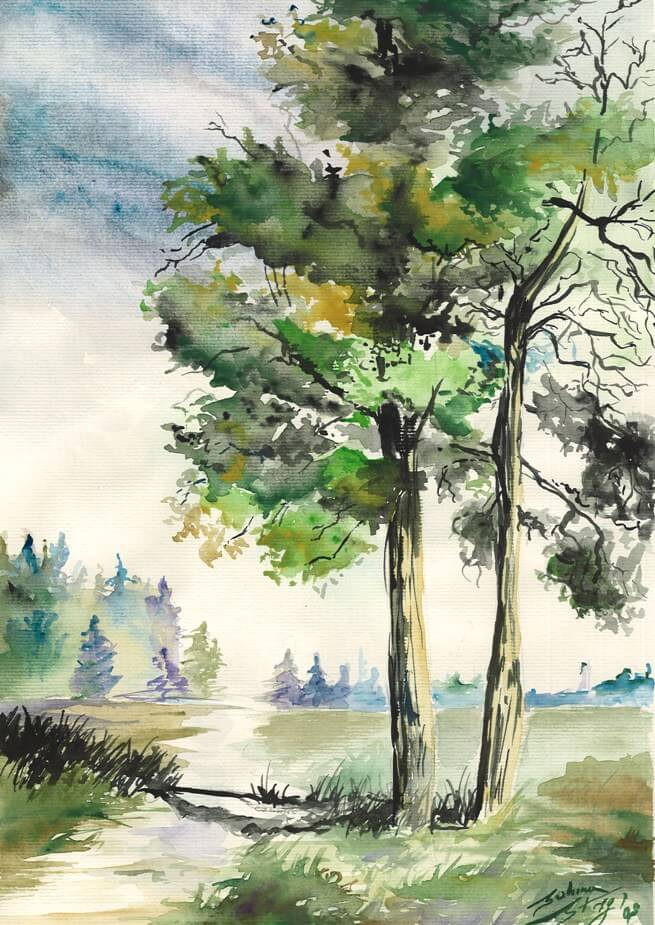
To achieve a style that leans more to the realism side…
My best tip is to begin painting the tree trunk first, let that dry, and then layer leaves and foliage using wet-on-wet techniques.
Make sure to also embrace a broader spectrum of light intensity by using darker and lighter tones you wouldn’t normally use.
Doing this really adds to the depth, dimension and overall realistic quality of the trees that otherwise could not be achieved with a flat color palette.
Aesthetic tree
To move away from the beginner-difficulty abstract style of trees, the technique you should mainly focus on is:
Scumbling.
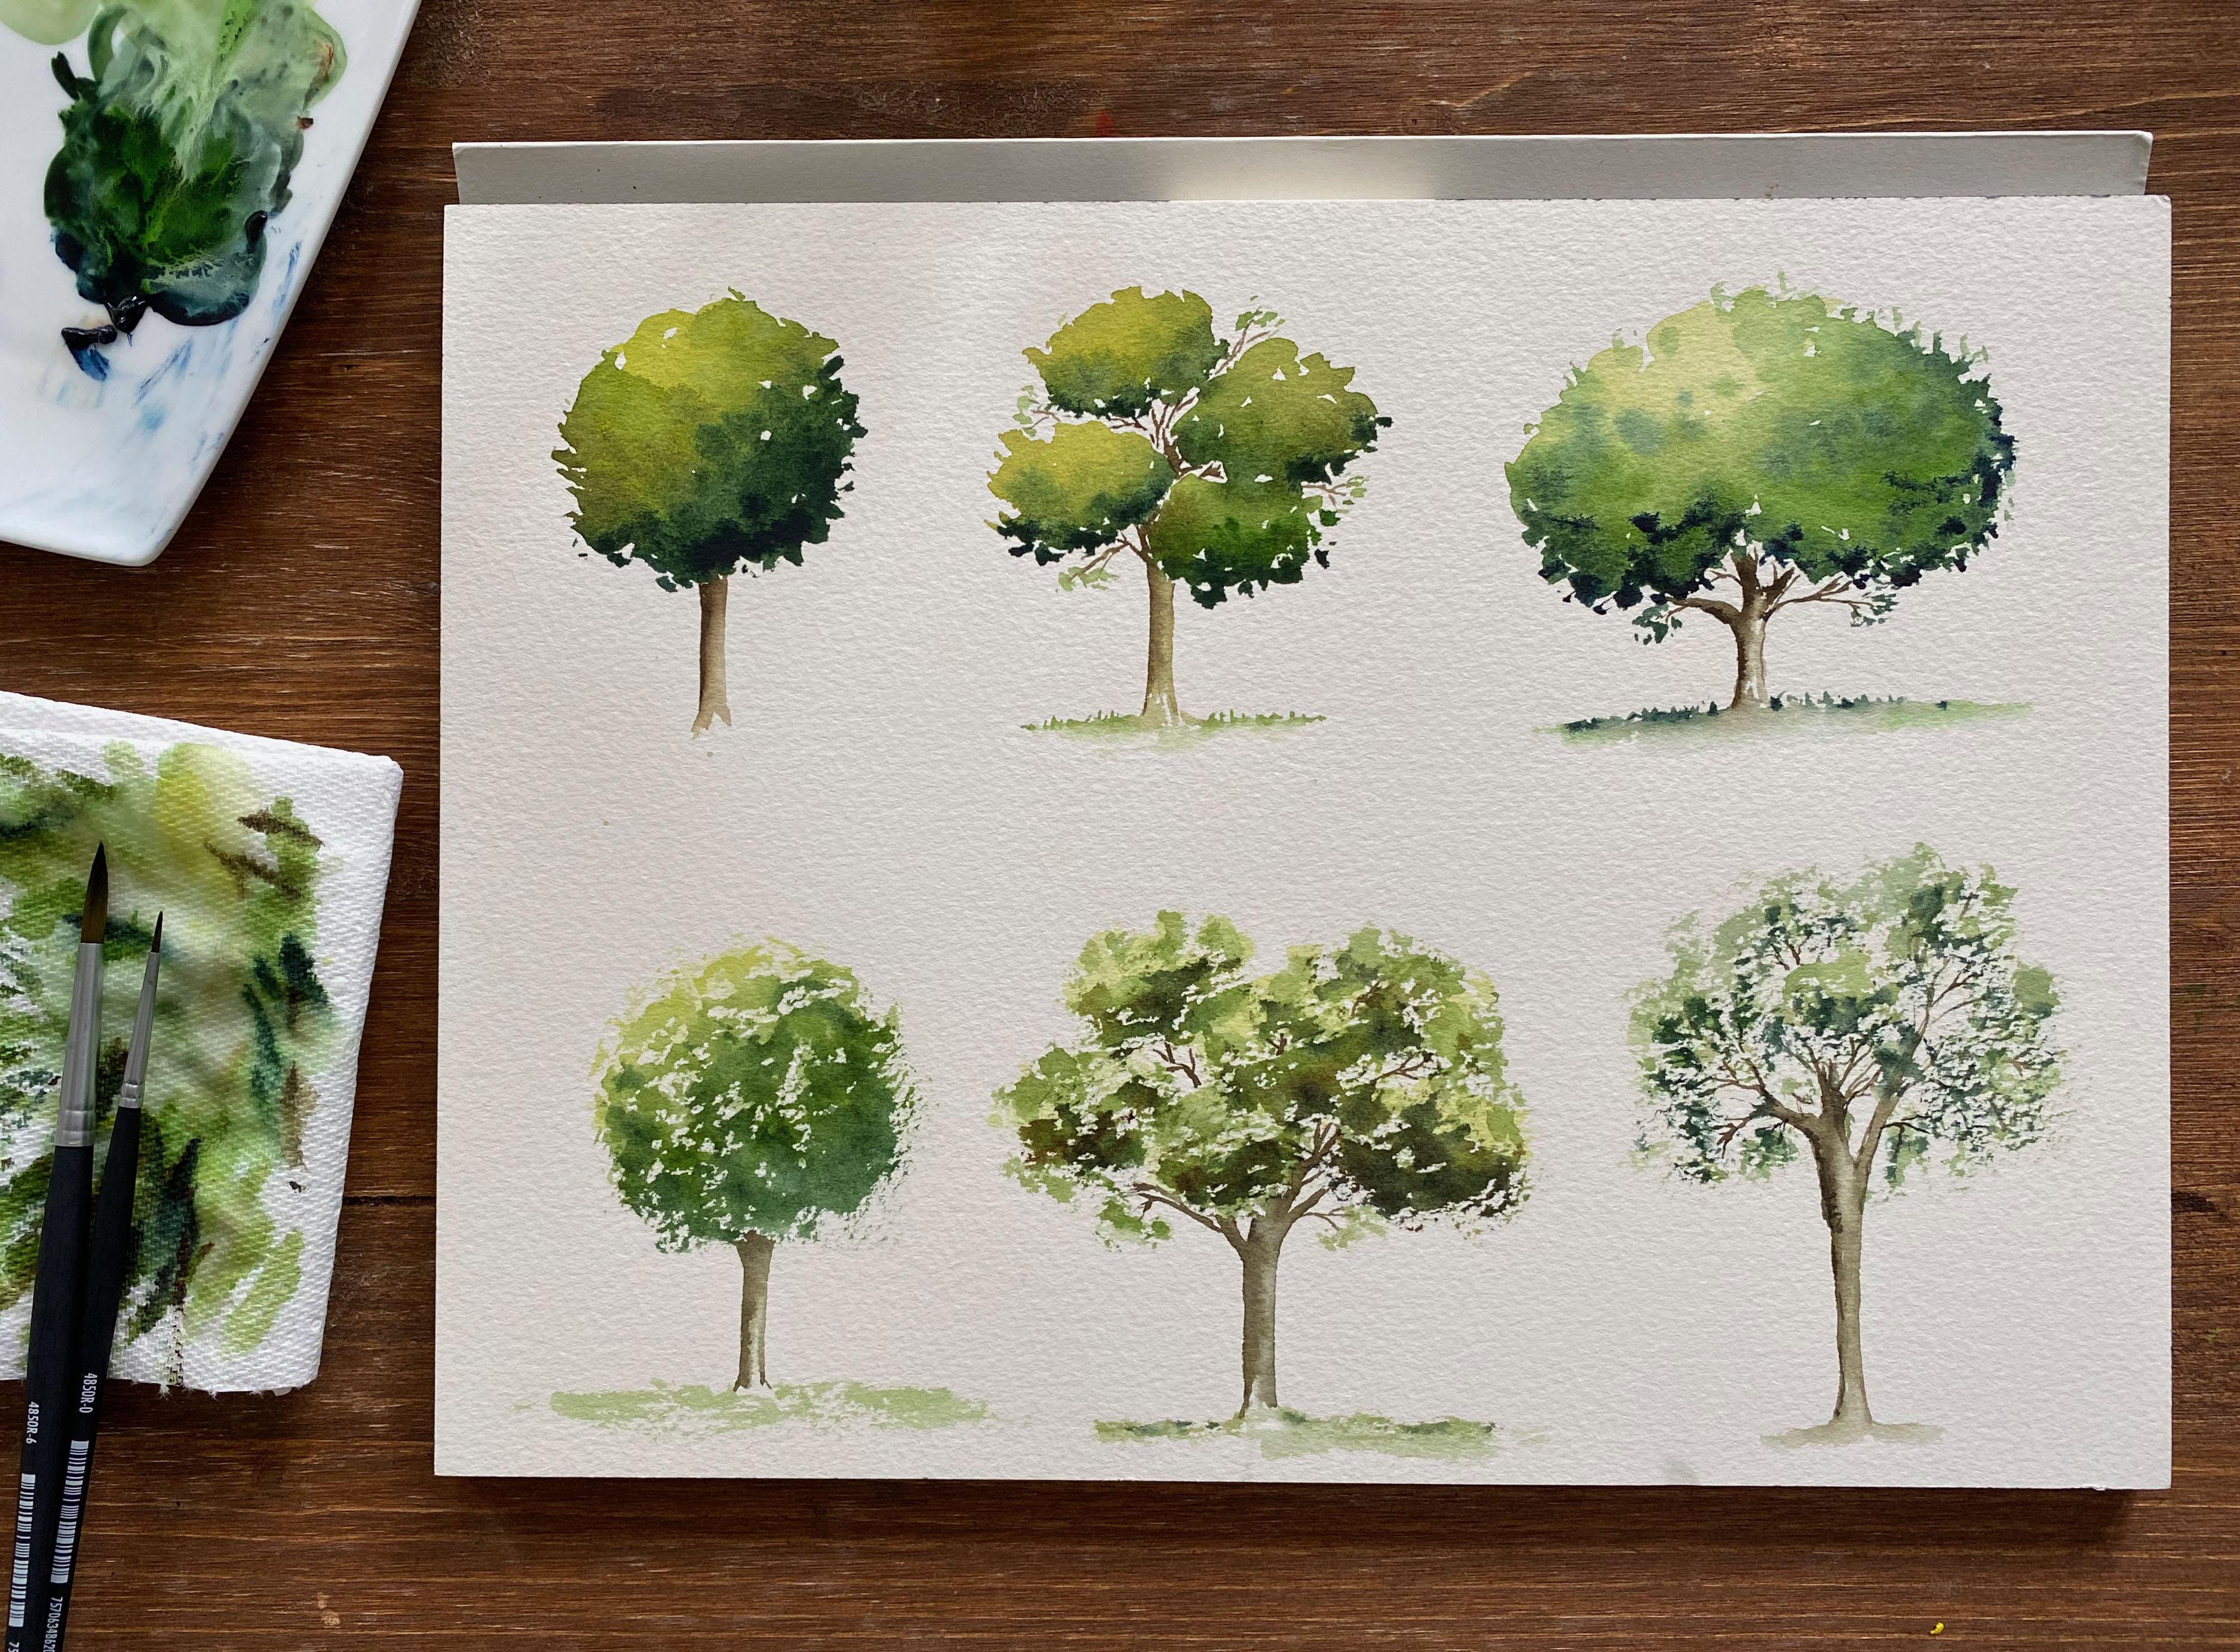
Scumbling is a technique used to build layers of textured brush impressions that generally forms an opaque layer partially hiding the underlying pigment.
The key to creating really aesthetic trees using watercolor is to build layer and this is achieved with scumbling.
Typically this involves using a smaller sized brush to create short, swirled impressions of leaves. Make sure you remain patient in this process and be mindful of the shapes you are creating.
Here’s a simple step-by-step tutoring that will hopefully help you out with this process:
1. Trunk and branches
Begin painting the trunk of the tree in a ‘Y’ shape with a small brush, this will be the foundation of your artwork.
Then, extend brushstrokes from the ends of the ‘Y’ to create branches using a smaller paint brush or the sharp point of a palette knife with limited pressure applied.
You should get something that looks like this:

2. Leaves
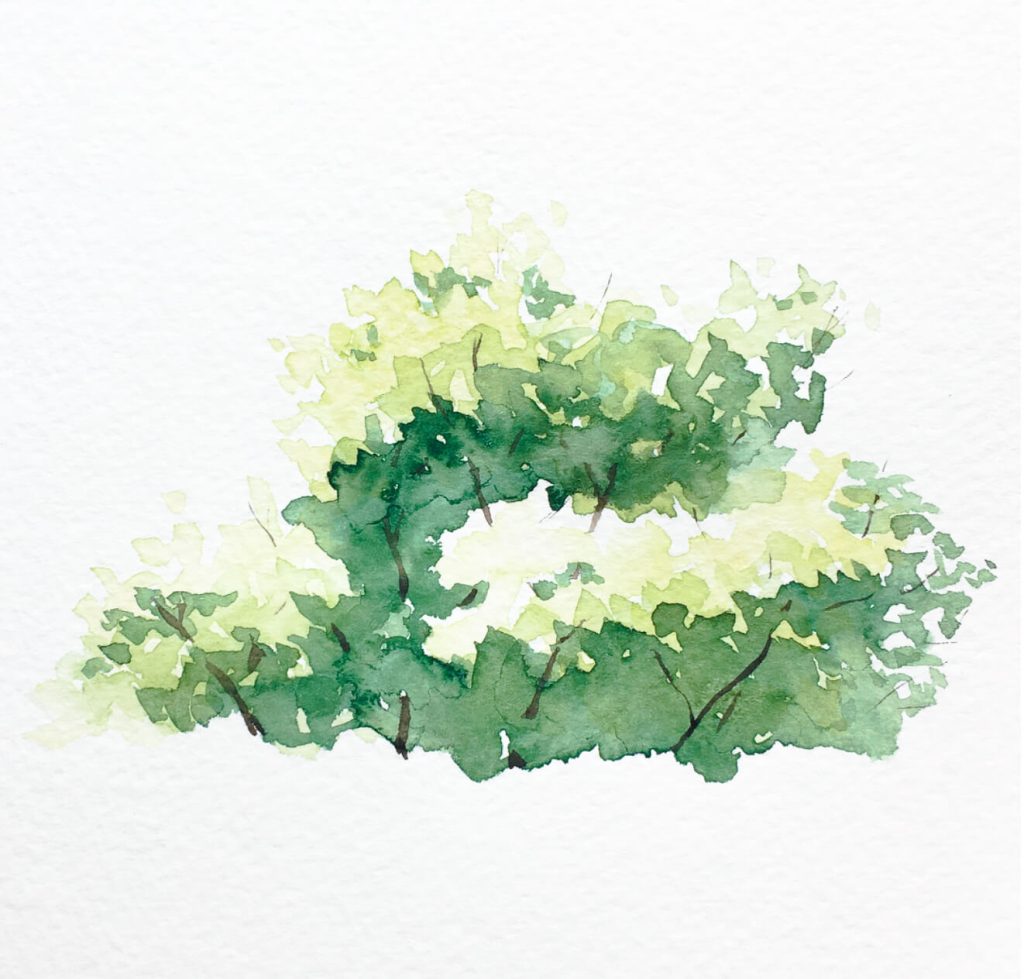
To create the leaves of the tree, use a sponge to place down the first layer of paint (lighter color) which you will build upon. Be sure to ‘pull’ some pigment off the page using a paper towel to create a white, empty area for branches to later weave through.
By utilising the technique of scumbling, layer darker toned pigments above this initial wash of paint to add depth and dimension to the leaves.
You can see this process in practice here:
For additional textures, I’d recommend to cover empty surroundings of your page with paper towel in order to ‘splatter’ pigment around the edges of your leaves for an expressive effect.
This is created either by tapping the belly if your brush with another brush or by manually flicking your brush’s bristles onto the page.
3. Adding details
To add some extra details to really elevate your tree painting, my best tip is to add extra branches that seep through small open areas of foilage.
Doing this will add to the depth you’ve already created with color and show off the realistic style achieved.
Use colored pencils if need be! The precision of pencils can be really good when adding thin branches that taper off as they spread out.
A final tip is to embrace a variety of colors. Particularly for the highlights, try and use tones that you wouldn’t normally use to contribute to interesting color expression within your work. This should be subtle to prevent such colors overpowering the foundation colors you’ve laid down.


Leave a Reply