- Introduction
- Brief Explanation of Oil Painting
- Understanding Oil Painting
- Getting Started with Oil Painting
- Exploring Oil Painting Techniques
- Understanding Color Theory in Oil Painting
- Working with Different Mediums in Oil Painting
- Safety Precautions and Best Practices for Oil Painters
- Preserving Your Oil Paintings
- Famous Artists and Their Oil Painting Styles
- Building Your Artistic Toolkit: Selecting the Right Supplies for Oil Painting
- Embracing Creativity in Oil Painting
Introduction
Oil painting is a timeless art form that has captured the imagination of artists for centuries.
As a beginner embarking on your oil painting journey, it can be very overwhelming diving into the sheer variety and quantity of supplies to choose from.
So having a comprehensive guide is essential to starting without having to waste an excessive amount of time.
Brief Explanation of Oil Painting

To put it simply:
Oil painting is a type of painting using oil colors, a medium consisting of dry powder pigments suspended in refined linseed oils.
The medium’s versatility allows for a wide range of techniques and styles, making it a favorite among artists.
For beginners, navigating the world of oil painting can be both exciting and daunting.
A complete guide tailored to beginners can provide valuable insights into:
- The fundamental techniques
- Color theory
- Safety precautions
- Artistic expression
This will lay a solid foundation for your creative exploration in this medium.
By delving into the intricacies of oil painting, you will gain the knowledge and confidence needed to unleash your artistic potential and embark on a fulfilling creative journey.
Understanding Oil Painting
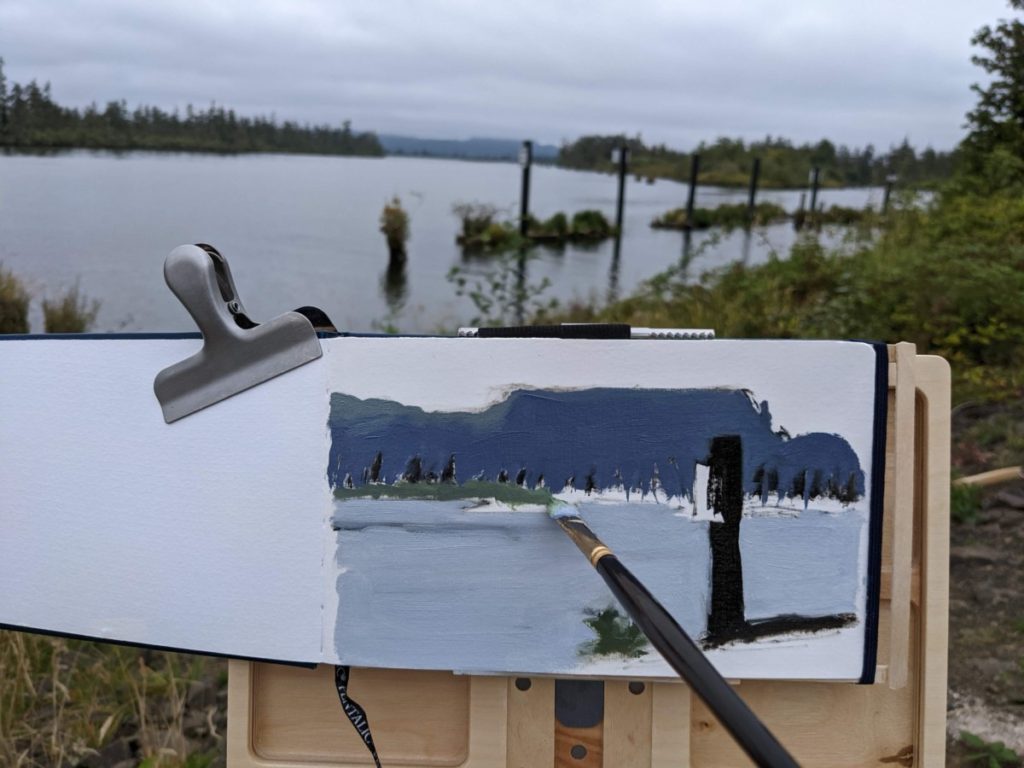
Oil painting is a versatile and timeless art form that has been practiced for centuries.
It involves the use of oil-based paints, which are made by suspending pigments in drying oils, such as linseed oil.
his combination creates a rich and vibrant medium that allows artists to create texture and depth in their paintings.
Historically, oil painting gained popularity during the Renaissance period and has since become one of the most widely used mediums in the art world. Its ability to blend colors seamlessly and its slow drying time make it ideal for creating smooth transitions and subtle gradations.
Key Components of Oil Painting
When starting with oil painting, it’s important to have a basic understanding of the key components involved:
- Oil Paints: These paints consist of pigments mixed with drying oils. They come in a wide range of colors and can be easily mixed to create custom hues. Some popular brands include Winsor & Newton, Gamblin, Old Holland, and Michael Harding.

- Brushes: A variety of brushes are used in oil painting to achieve different effects. Hog bristle brushes are commonly used for laying down initial layers of paint, while softer synthetic or sable brushes are used for finer details.

- Solvents: Solvents like turpentine or mineral spirits are used to thin the paint and clean brushes. They help control the consistency of the paint and facilitate blending.
- Palette Knife: A palette knife is a flat, flexible tool with a blunt edge that can be used to mix colors directly on the palette or apply thick impasto textures onto the canvas.
Understanding these components will set you up for success in your oil painting journey.
Experimenting with different brushes, solvents, and techniques like palette knife work will allow you to explore various styles and achieve unique effects in your paintings.
Getting Started with Oil Painting
As a complete beginner in oil painting, there are a few key tips to keep in mind as you embark on your artistic journey.
From setting up your workspace to choosing the right surface and preparing your canvas, these initial steps will lay the foundation for successful oil painting.
Setting up your workspace for success in oil painting
Creating a dedicated workspace is essential for oil painting. Here are some tips to set up your space effectively:
- Choose a well-ventilated area: Oil paints and solvents can emit fumes, so it’s important to have proper ventilation in your workspace. Open windows or use a fan to ensure fresh air circulation.
- Cover your work area: Protect your surfaces from paint spills and stains by using a drop cloth or plastic sheeting. This will make clean-up easier and prevent any damage to your workspace.
Choosing the right surface: Canvas vs Canvas Boards

When it comes to selecting a surface for oil painting, you have two main options: canvas and canvas boards. Here’s what you need to know about each:
- Canvas: Traditional stretched canvas provides a sturdy and durable surface for oil painting. It is available in various sizes and can be stretched over wooden frames. Canvas offers a classic look and feel, allowing for flexibility and texture in your paintings.
- Canvas Boards: Canvas boards consist of canvas stretched over a rigid backing such as cardboard or wood. They are lightweight, portable, and less expensive than stretched canvas. Canvas boards are an excellent choice for beginners as they provide a stable surface for practice pieces.
Preparing and priming your canvas for optimal paint application
Before you begin painting on your chosen surface, it’s important to prepare and prime the canvas. Here’s how to do it:
- Stretching canvas: If you opt for stretched canvas, ensure that it is tightly stretched over the wooden frame. This will prevent any sagging or warping while you paint.
- Priming canvas: Priming your canvas creates a smooth surface for the paint to adhere to. Apply a layer of gesso, a white acrylic-based primer, evenly across the canvas using a brush or roller. Let it dry completely before starting your painting.
By setting up your workspace properly, choosing the right surface, and preparing your canvas with care, you are ready to dive into the world of oil painting.
Exploring Oil Painting Techniques
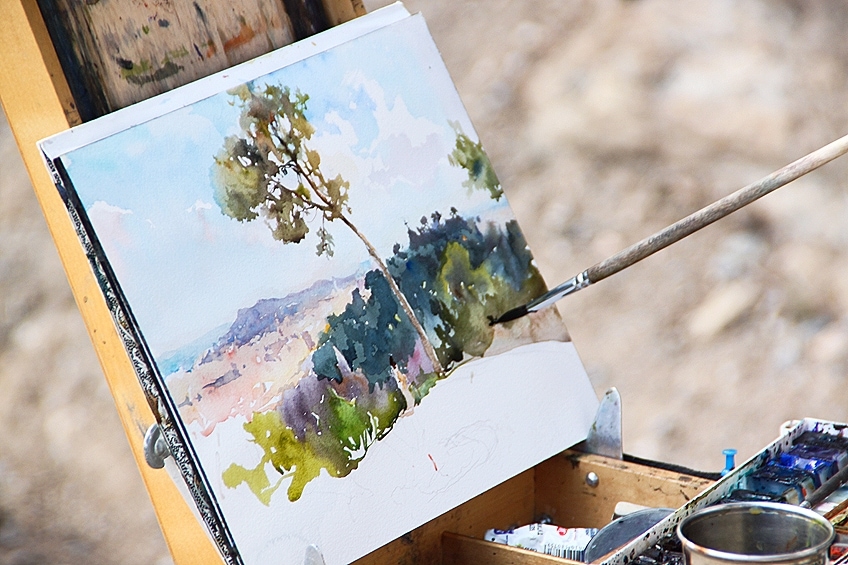
When it comes to oil painting, mastering various techniques can elevate your artwork and bring your creative vision to life.
Understanding the nuances of different techniques and knowing when to use them is essential for any aspiring oil painter. Here’s a closer look at some key oil painting techniques:
Underpainting
- Definition: Underpainting involves creating a monochromatic base layer before applying subsequent layers of color. It helps establish the composition and values of the painting.
- When to Use: Utilize underpainting to establish the tonal values and overall mood of your piece before adding color layers.
Scumbling
- Definition: Scumbling is a technique where a thin, opaque layer of paint is applied over a dry layer, allowing the underlying colors to show through. It adds texture and depth to the painting.
- When to Use: Use scumbling to create atmospheric effects, add texture, or modify existing colors in your artwork.
Alla Prima
- Definition: Also known as “direct painting,” alla prima involves completing a painting in one sitting while the paint is still wet. This technique captures spontaneity and immediate impressions.
- When to Use: Embrace alla prima for capturing fleeting moments, expressive brushwork, and vibrant color interactions.
Glazing
- Definition: Glazing entails applying thin, transparent layers of paint over dry layers to alter the color and create subtle transitions. It enhances luminosity and depth in a painting.
- When to Use: Employ glazing to achieve rich, jewel-like colors, subtle tonal shifts, and atmospheric effects.
Impasto
- Definition: Impasto refers to the technique of applying thick layers of paint with visible brushstrokes or palette knife marks. It adds physical texture and sculptural quality to the artwork.
- When to Use: Opt for impasto when you want to create tactile surfaces, emphasize the materiality of paint, or add expressive energy to your painting.
This isn’t a definitive list and there are many more techniques you could possibly use in your paintings.
Mastering these oil painting techniques will broaden your creative possibilities and allow you to convey depth, emotion, and narrative in your artwork.
Each technique offers unique opportunities for artistic expression and visual impact.
Understanding Color Theory in Oil Painting

When it comes to creating harmonious and visually appealing oil paintings, understanding color theory is essential.
Color theory refers to the principles and guidelines that artists use to mix and combine colors effectively.
By grasping the fundamentals of color theory, you can achieve depth, dimension, and balance in your oil paintings.
Importance of Color Theory
Color theory plays a crucial role in oil painting as it allows you to:
- Create a sense of harmony: Understanding how colors interact with each other helps you create a visually pleasing composition. By applying color theory principles, you can ensure that your color choices work together cohesively, resulting in a harmonious painting.
- Evoke emotions: Different colors have different psychological effects on viewers. Learning about color psychology can help you convey specific moods or emotions through your artwork. For example, warm colors like red and orange can evoke feelings of energy and passion, while cool colors like blue and green can create a sense of calmness or tranquility.
- Achieve depth and realism: Mixing and layering techniques allow you to create a wide range of values and tones in your paintings. By understanding how to blend colors effectively, you can depict light, shadow, and form more realistically.
My best tip for beginners regarding color theory is to use cool colors for shadows and warm colors for highlights.
By doing this, you create really interesting layers in your painting and avoid a color palette that looks rather flat.

Mixing and Layering Techniques
In oil painting, there are various techniques for mixing and layering colors to achieve desired effects. Here are some key approaches:
- Color Mixing: By combining primary colors (red, yellow, blue), you can create secondary colors (orange, green, purple). Experimenting with different ratios of these primary and secondary colors allows you to expand your palette and achieve a broader range of hues.
- Layering: Layering involves applying multiple transparent or semi-transparent layers of paint on top of each other. This technique allows for subtle variations in color and value. For instance, glazing involves applying thin layers of translucent paint over a dry base layer, resulting in a luminous effect.
- Color Temperature: Color temperature refers to the perceived warmth or coolness of a color. By understanding how warm and cool colors interact, you can create depth and dimension in your oil paintings. Warm colors tend to advance, while cool colors recede. Utilizing this knowledge can help you create spatial depth and atmospheric effects in your artwork.
- Color Harmonies: Color harmonies refer to specific combinations of colors that work well together. Some common color harmonies include complementary (opposite colors on the color wheel), analogous (adjacent colors on the color wheel), and triadic (three evenly spaced colors on the color wheel). Exploring different color harmonies can add interest and balance to your oil paintings.
Understanding color theory AND applying various mixing and layering techniques are essential skills for any oil painter.
By experimenting with different combinations of colors and exploring their interactions, you can elevate your artwork and create visually captivating compositions.
Working with Different Mediums in Oil Painting
When it comes to oil painting, the choice of mediums can significantly impact the texture, drying time, and overall look of your artwork.
Here, we will explore the versatility of oil painting mediums, specifically focusing on linseed oil and Liquin.
Exploring Oil Painting Mediums
- Linseed Oil: This traditional medium is derived from flax seeds and is known for its slow drying time. It enhances the flow of oil paint, making it easier to work with and blend on the canvas. Linseed oil also adds a glossy finish to the paint and increases its transparency, which can be advantageous when creating luminous glazes or thin layers of color.
- Liquin: As a modern alternative to traditional linseed oil, Liquin is a popular medium that accelerates the drying time of oil paints. It also imparts a semi-gloss finish to the paint while maintaining its flexibility. Artists often appreciate Liquin for its ability to speed up the drying process, allowing for quicker layering and overpainting techniques.
Application Techniques
- Mixing with Acrylic Paint: Some artists incorporate acrylic paint into their oil painting process to create underpainting or initial sketches due to its quick drying nature. This combination allows for flexible layering and experimentation with textures.
Safety Considerations
Now, this is an important topic.
When working with these mediums, proper ventilation is essential due to the presence of fumes and vapors.
Additionally, ensure adequate storage of these mediums away from direct sunlight and extreme temperatures to maintain their quality.
By understanding the characteristics and applications of different mediums in oil painting, you can tailor your techniques to achieve desired effects and enhance your creative process.
Safety Precautions and Best Practices for Oil Painters
When it comes to oil painting, proper brush maintenance is essential for prolonging the lifespan of your brushes and ensuring optimal performance.
Here are some key points to keep in mind:
Cleaning Brushes
After each painting session, it’s crucial to clean your brushes thoroughly to remove any residual paint. Use a gentle brush cleaner or mild soap and warm water to carefully wash the bristles. Gently reshape the bristles and allow the brushes to air dry completely before storing them.
Avoiding Solvent Build-Up
If you use solvents in your painting process, such as mineral spirits or turpentine, be mindful of solvent build-up in your brushes. This can cause damage to the bristles over time. Ensure that you properly clean and store your brushes to prevent solvent build-up.
Proper Storage
Store your brushes in a way that protects their shape and bristles. Consider using brush guards or keeping them in a container with bristles facing upward to prevent bending or flattening.

Regular Inspections
Periodically inspect your brushes for any signs of wear or damage. Address any issues promptly to prevent further deterioration.
By following these best practices for brush maintenance, you can extend the life of your painting tools and maintain their quality for future artistic endeavors.
Preserving Your Oil Paintings
Oil paintings require special care and attention to ensure their longevity and preservation. Understanding the drying process of oil paints and implementing proper protective measures will help safeguard your finished artworks for years to come.
Here are some key points to consider when preserving your oil paintings:
- Allow Sufficient Drying Time: Oil paints have a longer drying time compared to other mediums like acrylics. It is crucial to allow each layer of paint to fully dry before applying another layer or varnish. This process can take anywhere from a few days to several months, depending on the thickness of the paint and environmental conditions.
- Protect from Dust and Dirt: Once your painting has completely dried, it is important to protect it from dust and dirt. You can achieve this by framing your artwork with glass or using a fixative spray designed specifically for oil paintings. This protective barrier will prevent particles from settling on the surface of the painting.
- Avoid Direct Sunlight: Exposure to direct sunlight can cause the colors in your oil painting to fade over time. To prevent this, display your artwork in an area away from direct sunlight or use UV-protective glass when framing.
- Handle with Care: When moving or transporting your oil paintings, handle them with utmost care. Avoid touching the painted surface directly and use clean gloves or tissues if necessary. Additionally, ensure that the paintings are securely packed and protected during transportation.
- Clean with Caution: If you ever need to clean your oil painting, it is recommended to seek professional assistance. Cleaning an oil painting requires specialized knowledge and techniques to avoid any damage to the paint layers. Professional conservators have the necessary expertise and tools to safely clean and restore your artwork.
By following these guidelines, you can ensure that your oil paintings remain in excellent condition for years to come.
Taking proper care of your artworks will not only preserve their beauty but also protect your investment.
Remember:
Preservation is an ongoing process, so it’s important to regularly monitor and maintain your oil paintings to ensure their longevity.
Famous Artists and Their Oil Painting Styles
Claude Monet is one of the most renowned figures in the world of oil painting, known for his distinctive style and innovative techniques.
So, to learn from one of the best themselves…
Here are some key aspects to consider when exploring the oil painting styles of famous artists like Claude Monet:
1. Impressionist Movement
Claude Monet was a leading figure in the Impressionist art movement, which emphasized capturing the fleeting effects of light and atmosphere. His use of vibrant colors and visible brushstrokes set the stage for a new way of depicting landscapes, seascapes, and everyday scenes.
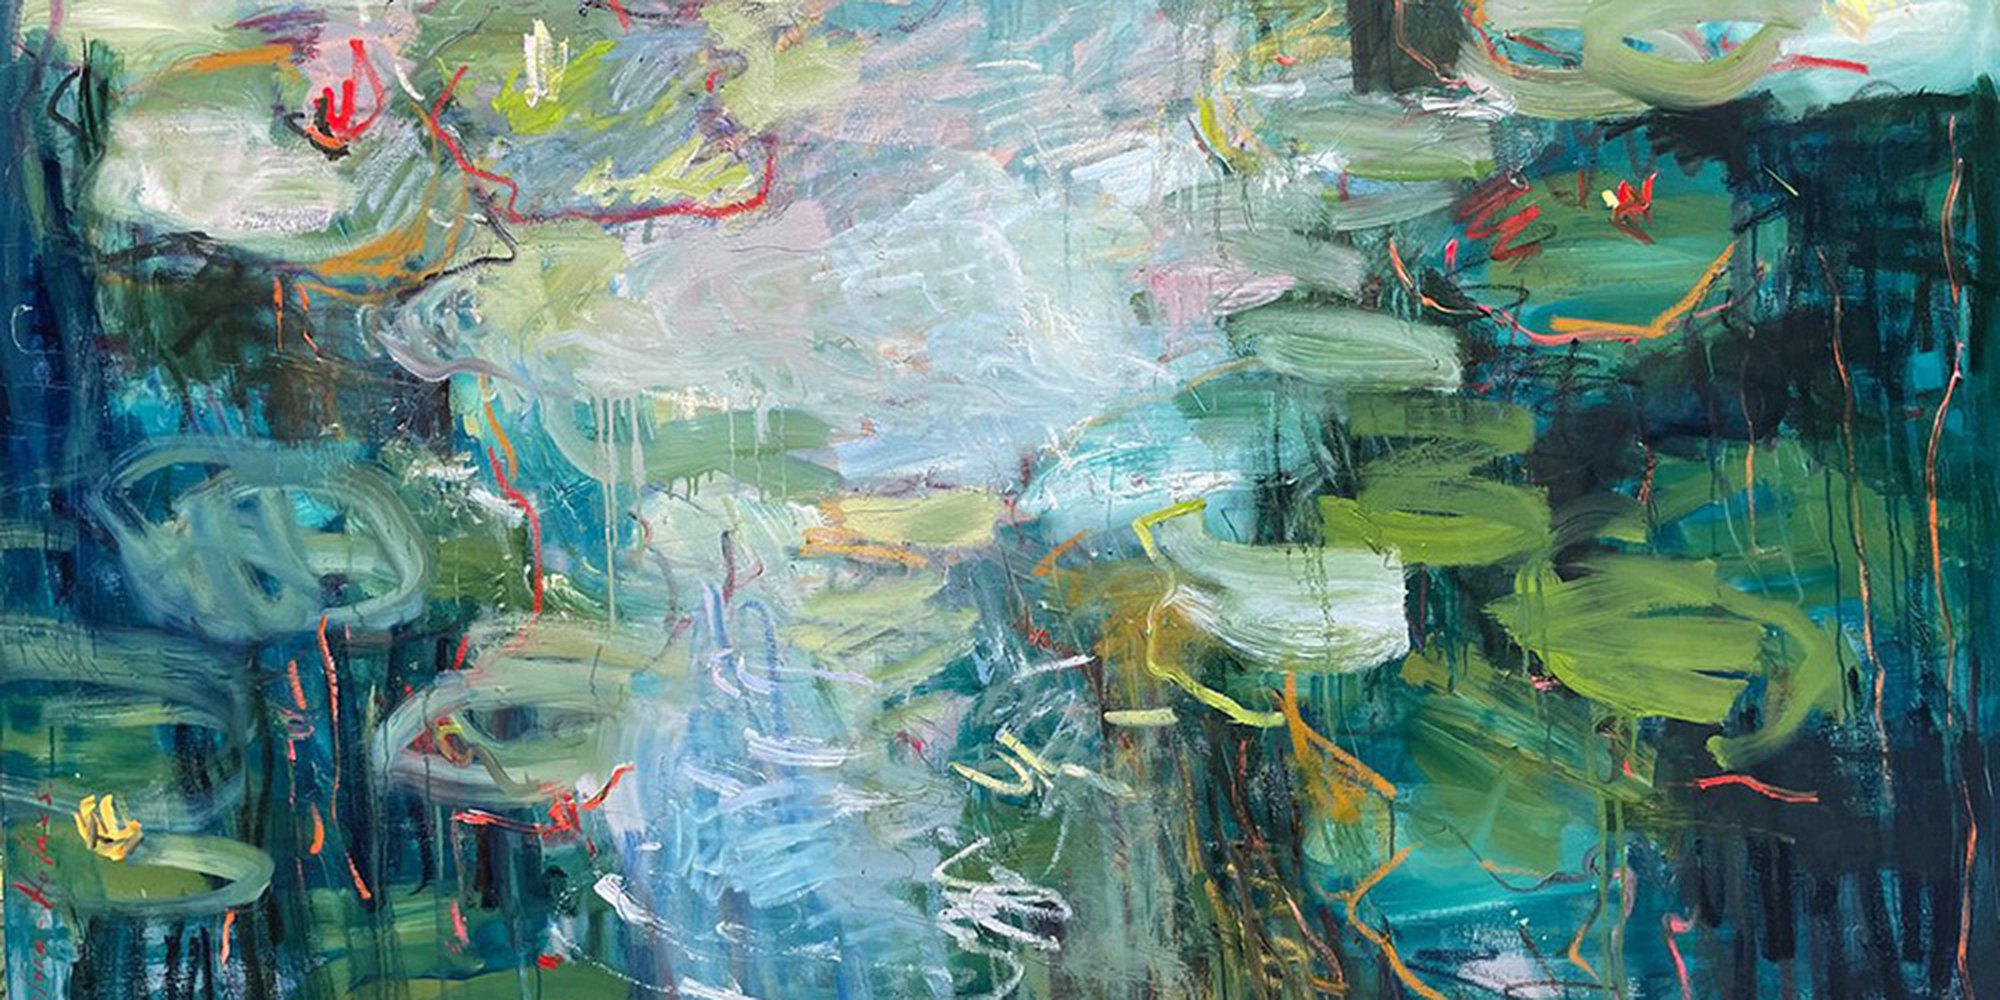
2. En Plein Air Painting
Monet was a pioneer of en plein air painting, which involved creating artworks outdoors to directly capture the transient qualities of natural light. This approach allowed him to infuse his paintings with a sense of immediacy and spontaneity.

3. Series Paintings
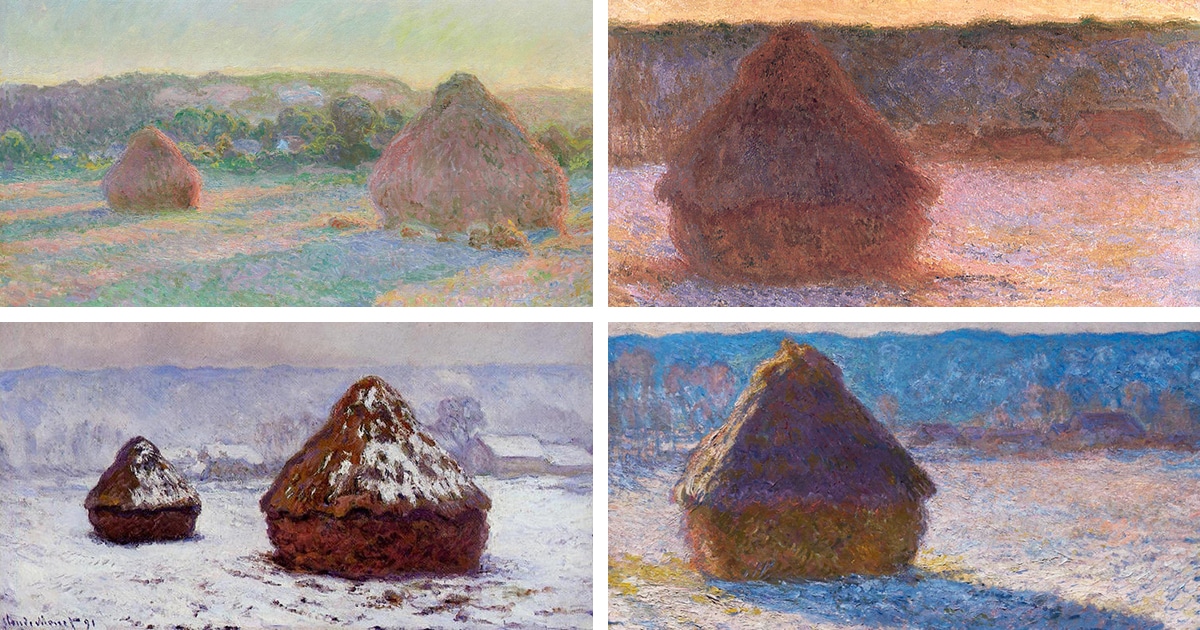
One of Monet’s notable contributions to art history was his series paintings, where he depicted the same subject under different lighting conditions and times of day. This deliberate exploration of light and color variations showcased his mastery in conveying mood and atmosphere through paint.
4. Brushwork and Texture
Examining Monet’s work reveals his adeptness at using varied brushwork to convey texture and movement within his compositions. From delicate, dappled brushstrokes to bold, expressive marks, each stroke contributed to the overall visual experience of his paintings.
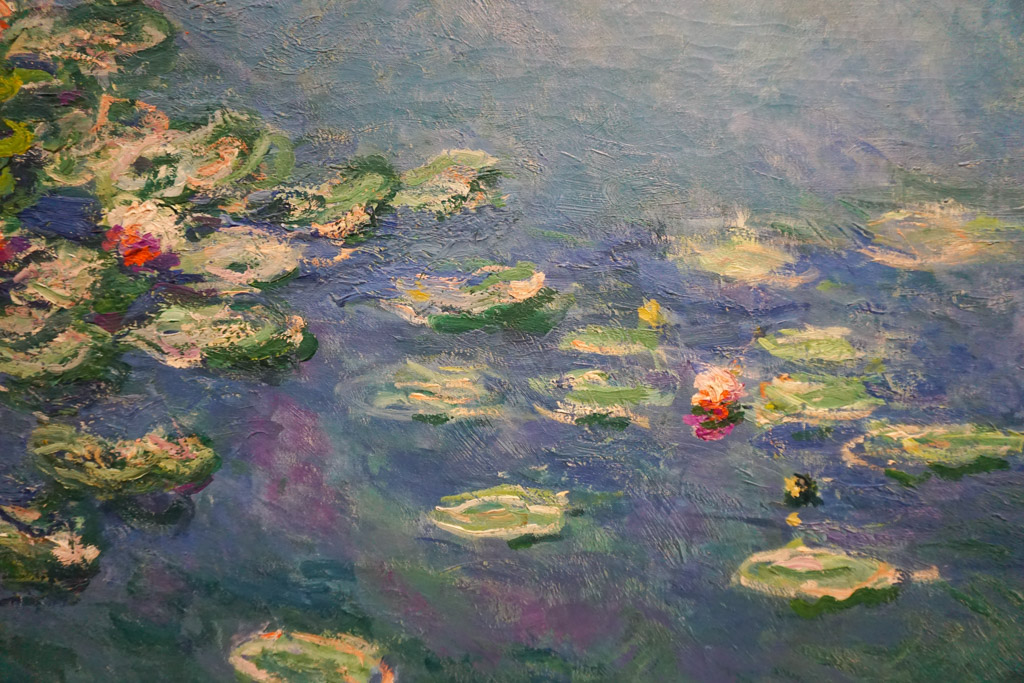
By studying the distinct styles of famous oil painters like Claude Monet, beginners can gain valuable insights into the diverse approaches and techniques employed within the realm of oil painting. These iconic artists serve as a wellspring of inspiration for those embarking on their own artistic journey with this timeless medium.
Building Your Artistic Toolkit: Selecting the Right Supplies for Oil Painting
When it comes to oil painting, having the right art supplies is essential for achieving the desired results.
To help you get started…
Here is an essential guide to choosing quality art supplies for your oil painting journey:
1. Oil Paints
Invest in artist-grade oil paints as they contain higher pigment concentration and offer better color intensity and lightfastness. Popular brands like Winsor & Newton, Gamblin, Old Holland, and Michael Harding are known for their high-quality oil paints.
If you’re looking for quality…
I’d personally recommend you pick up some Winsor & Newton Artist Oil Paints (in terms of consistency, vibrancy and pigmentation; they are nothing short but one of the best).

For a more affordable choice, I’d recommend the Gamblin 1980 Oil Paint student-grade line.
Around 10-20 essential colors will provide you a palette range for any subject you decide to paint, and you can always build upon your collection buy purchasing more pigments.
But you can always start with a very limited palette such as lemon yellow, ultramarine blue, alizarin crimson, titanium white and a neutral brown like burnt umber or raw sienna.
For more information about which oil paint brands to choose from, take a look at this post I made to help you out.

Good quality brushes are crucial for achieving different effects in your oil paintings. Opt for brushes made from natural bristles such as hog hair or synthetic bristles designed specifically for oil painting. Different brush shapes and sizes will allow you to create various textures and details in your artwork.
3. Palette

Choose a palette that is large enough to hold and mix your paint colors effectively. A traditional wooden palette or a glass palette both work well for oil painting. Remember to clean your palette after each painting session to prevent colors from drying and mixing unintentionally.
4. Mediums
Oil painting mediums can enhance the flow, drying time, or transparency of your paint. Some popular mediums include linseed oil, stand oil, Liquin, and Galkyd. Experiment with different mediums to achieve the desired effects in your paintings.
5. Canvas
Consider using stretched canvas or canvas boards as your painting surface. Stretched canvas offers a professional look and can be easily framed, while canvas boards are more affordable and convenient for practice pieces or studies.
A palette knife is a versatile tool that allows you to apply thick layers of paint or create textured effects in your artwork. It is especially useful for impasto techniques.
7. Easel
Although not essential, an easel provides a comfortable working position and allows you to adjust the angle and height of your canvas. There are various types of easels available, including tabletop easels, studio easels, and plein air easels.

In addition to these supplies, it’s worth mentioning the Zorn palette. The Zorn palette consists of four colors: yellow ochre, ivory black, vermilion or cadmium red light, and titanium white. This limited color scheme helps artists focus on value and temperature relationships in their paintings.
Remember, choosing quality art supplies is an investment in your artistic journey. While it may require an initial investment, using high-quality materials will ultimately enhance your painting experience and the longevity of your artwork.
By selecting the right supplies for oil painting, you’ll be well-equipped to explore the medium’s endless possibilities and unleash your creativity on the canvas.
Embracing Creativity in Oil Painting
Encouragement for beginners to embrace their unique style and artistic expression through oil painting techniques and materials.
Oil painting provides a rich and versatile medium for artistic expression, allowing beginners to explore their creativity and develop their unique style. As you embark on your oil painting journey, it’s important to embrace the following mindset:
Exploration
Experiment with different techniques, mediums, and color palettes to discover what resonates with you. Allow yourself the freedom to make mistakes and learn from them as you explore the possibilities of oil painting.
Expression
Use oil painting as a means of expressing your emotions, thoughts, and experiences. Let your brushstrokes convey the depth of your feelings and perspective, creating artworks that are deeply personal and reflective of your inner world.
Individuality
Celebrate your individuality as an artist. Avoid comparing your work to others and instead focus on developing a style that is uniquely yours. Embrace visible brushwork and texture in your paintings, letting them become distinctive signatures of your artistic identity.
Inspiration
Draw inspiration from various sources such as nature, everyday life, or other artists’ works. Allow this inspiration to fuel your creativity and guide you in discovering new approaches to oil painting.
By embracing these principles, you can fully immerse yourself in the captivating world of oil painting, using it as a powerful tool for self-expression and artistic exploration.
Remember that each brushstroke is an opportunity to learn and develop your skills.
My best advice would be to not obsess over the micro techniques, whether your color theory is correct, whether this line is good – just enjoy the creative process and you’ll surprise yourself with the results.


Leave a Reply